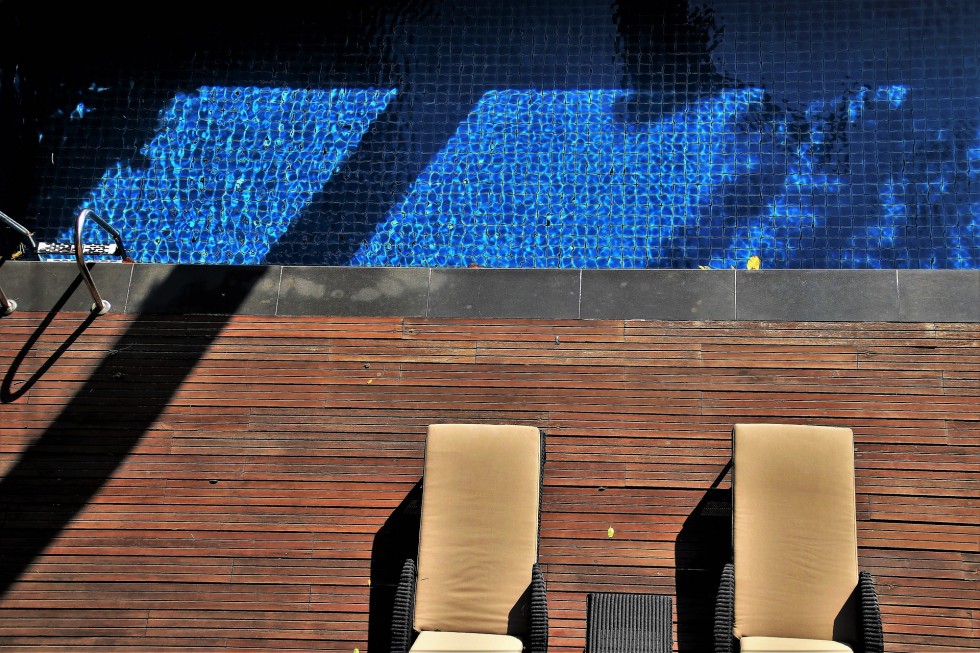
Building a pool deck is fantastic idea for those who enjoy splashing in the water but don’t want to go outside the backyard. You can organize you own swimming hole with using our handy tips.
The truth is that this process is not immediate. You should spend some time, get special tools and materials and work hard on you project.
However, hiring a professional carpenter may estimable simplify the problem. If you understand that you don’t want to make much effort and are ready to pay for high-quality work, contact the suitable local specialist.Leave your request here
But, if you are still sure to go on without assistance and made-up to build an above the ground pool deck yourself, read our guide.
Use the following article to familiarize yourself with general information about types of pool decks and the main steps of building them.
Have a good time sunbathing in your own pool. Our instructions will allow you to ease this complicated work.
Before proceeding to the guide you should define what type of deck you want. The most common variant is a wooden pool deck.
At the same time you may prefer aluminum, stone or resin deck. Choose the best one according to your design considerations, family budget and commodity.
Next, you should determine whether you want to install an above or in-ground pool deck. Both look great, so it’s only the matter of taste.
Now, look at our step-by-step guide and start realizing your idea.
6 Steps to build an above-ground pool deck
-
Measurement and preparation
Building a pool deck is the kind of activity that should be conformed to your local building department rules. That’s why HireRush.com recommends you to start with obtaining the corresponding permission.
According the local inspector’s instructions, make all necessary measurements and plan the deck.
Project and mark the posts and piers around the pool (approximately 1foot from the pool edge for interior posts and not more than 4 feet from this point for other piers. -
Posts installation
Previously marked places will equate you to keep in mind when the post should be installed. You may need to hire the worker or to rent power auger in order to make holes.
Next, you can start to mix concrete. Set the posts into the ground and make sure they are level. You can even the surface before installing.
Set the post into the concrete footings and measure the level. You may need to cut the extra length of the post.
Allow the concrete to dry up leaving it for the night. -
Frame building
Now, you need the supports to be screwed into the piers. Install both interior and exterior deck supports using galvanized screws.
To construct the frame you need to nail 2 lumber pieces together. You will get a square. The framing will be made of joists creating a frame of parallel and angle sides.
Put the square on the top of the support posts, so that the 2 sides cross in the center of the deck that is supported by 4˟4 posts.
Fill the squares with 2˟10 joists and space them at 16 inches at the center. Then, finish frame building by installing the diagonal braces if the deck is higher than 30 inches. -
Laying the decking
Next step is to install the decking. Cut each of 1˟6 posts so that their top and bottom are square.
Use 2 deck screws for every joist and make sure you evenly placed the screws.
Carpenters advice leaving some space between the edge of the pool and the planking. It will enable you to adjust the decking properly.
With a help of the circular saw trim the boarding where it overhand the supports. Then, fasten down the deck board tightly. -
Guard rail installation
To complete the pool deck building you should buy a preassembled railing. You can find it in most hardware stores.
Set the railing posts around the pool deck, placing them on the intercrossing of joists and supports. Make sure you left an access to the stairs
.
Clap on the boards between the post using deck screws. Cut 2˟4 according to the length of the posts you’ve just installed and fasten them as the railing cap.
After that, screw 2 ˟ 2 precut balusters to the railing and the deck floor. Position each baluster at the distance of about 4 inches one from another. Make sure they are plumb. -
Stairs building
Finally, you have got to the last step. Purchasing a precut stairs will be a good idea to lighten the work.
Install the stair stringers into the concrete block in order to prevent the stairs from absorbing moist from the ground. The top of the stringers should be screwed to the floor joist.You can complete it with screwing additional stringers to make your construction more stable. The last thing you need to do is screwing boards to the stringers.


This article helps me to decide what fence do i need to use for my house!
Nice to hear! Thank you for your feedback!
Oh great! It was a fun reading this. I have learned a lot.
Thank you! We’re pleased that you find this information useful!