Isn’t it crazy to build a fireplace outside? I don’t think so.
Building an outdoor fireplace on the porch or patio areas is a wonderful way to transform the backyard, give it a nice warm look and even more homey feeling while enjoying the functional benefits of having an outdoor fire. Most commonly, it is built to establish the warmest and the most pleasant setup for outside dinners or to improve the relaxation spot in the garden. Outdoor fireplaces are not only outstanding pieces of patio decor, but they may be used as a cooking spot as well (of course, when their design implies such a possibility). Just imagine gathering your entire family or inviting your friends to come over, cook a nice meal together in the open air, sit by the fire in the most comfortable chairs while consuming the tastiest food everyone participated to prepare and having a casual talk with your favorite people.
Patios with outdoor fireplaces are probably the greatest relaxation areas, as they combine two absolutely incompatible things: feeling of homeliness, caused by quiet crackling fire and complemented by coziness of the outdoor furniture and calmness of subtle garden lights, and unity with nature (or at list the pleasure from the fact that you’re not trapped inside the house). Make a cup of tea, grab your favorite book and nice soft blanket, forget your phone inside the house, come outside, light your favorite candles, start a fire in the fireplace, flop into the chair, bundle up in your blanket and take a break from the bustling world and troubles of the past day. Perfect evening, isn’t it? 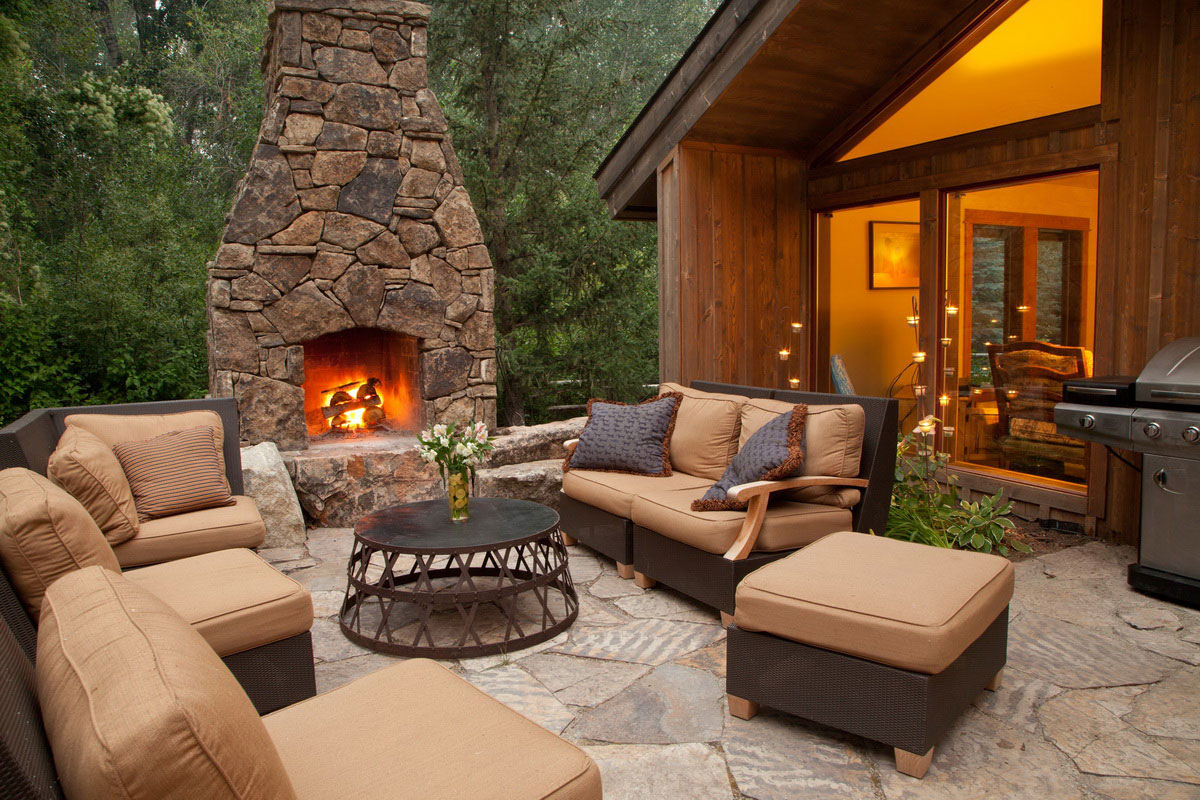
However, people often hesitate if they should build a fireplace in their backyard, as it plays mainly decorative function and has nothing to do with the initial purpose of the fireplace. Indeed, you can’t heat the outside air by burning it, but you can definitely warm up people’s hearts, including yours. And, that’s why constructing an outdoor fireplace doesn’t seem too excessive to me, especially considering the fact the building process is not too complicated if compared with building a fireplace inside the house. First of all, you won’t have to remodel the entire house and practically make a hole in it to install a chimney of a traditional fireplace, and there’s no need to add the damper. Besides, having a fireplace outside rather than inside is much safer in terms of fire protection.
Nevertheless, if you decide to give it a shot and build an outdoor fireplace on your own, it’s better to consult with a professional hardscape contractor to develop a decent plan and carry out a successful DIY project. Moreover, if you’re aiming for a fireplace you may cook in, you should probably seek the specialist’s assistance, as this project may appear too complicated for someone, who has never dealt with fireplace construction before. Visit HireRush.com to search through the business profiles of highly qualified outdoor contractors, who operate in your locale area and call several professionals directly from the site to see, if one of them is able to take the job anytime soon.
And, I’ll provide you with a basic guideline on how to build an outdoor brick fireplace. You’ll see the amount of work you’ll have to deal with and decide if it’s something you’re able to cope with on your own. As I’m sure you’re, let’s get started!
Step-by-step guide to build a brick fireplace
Step 1. Choosing a spot
It’s necessary to find the flattest spot in your backyard not to spare too much time and effort on making the area nice and even before building a fireplace. If you have patio, setting up a fireplace at one of its edges is probably the best idea. However, if you’re just planning to lay a patio, you should better incorporate a fireplace into it right away.
Obviously, you don’t want to build a wood-burning fireplace too close to the trees and your (or neighbor’s) house. Check the frost line of the chosen area to make sure that the fireplace’s foundation will withstand winter weather conditions without any damages.
Step 2. Developing a plan
Determine if you’re going to build a wood or gas burning fireplace, as it will define the scope of your further actions and peculiarities of the building plan. I’m going to present you a guideline on how to build a traditional wood-burning one. Building a gas-powered fireplace might seem easier at the first sight, but it also requires additional expenses and professional assistance when it comes to connecting a fireplace to the main gas lines.
At this point, it’s also necessary to decide if you’re going to incorporate a grill, or barbeque, or pizza oven into the fireplace to look for similar plans.
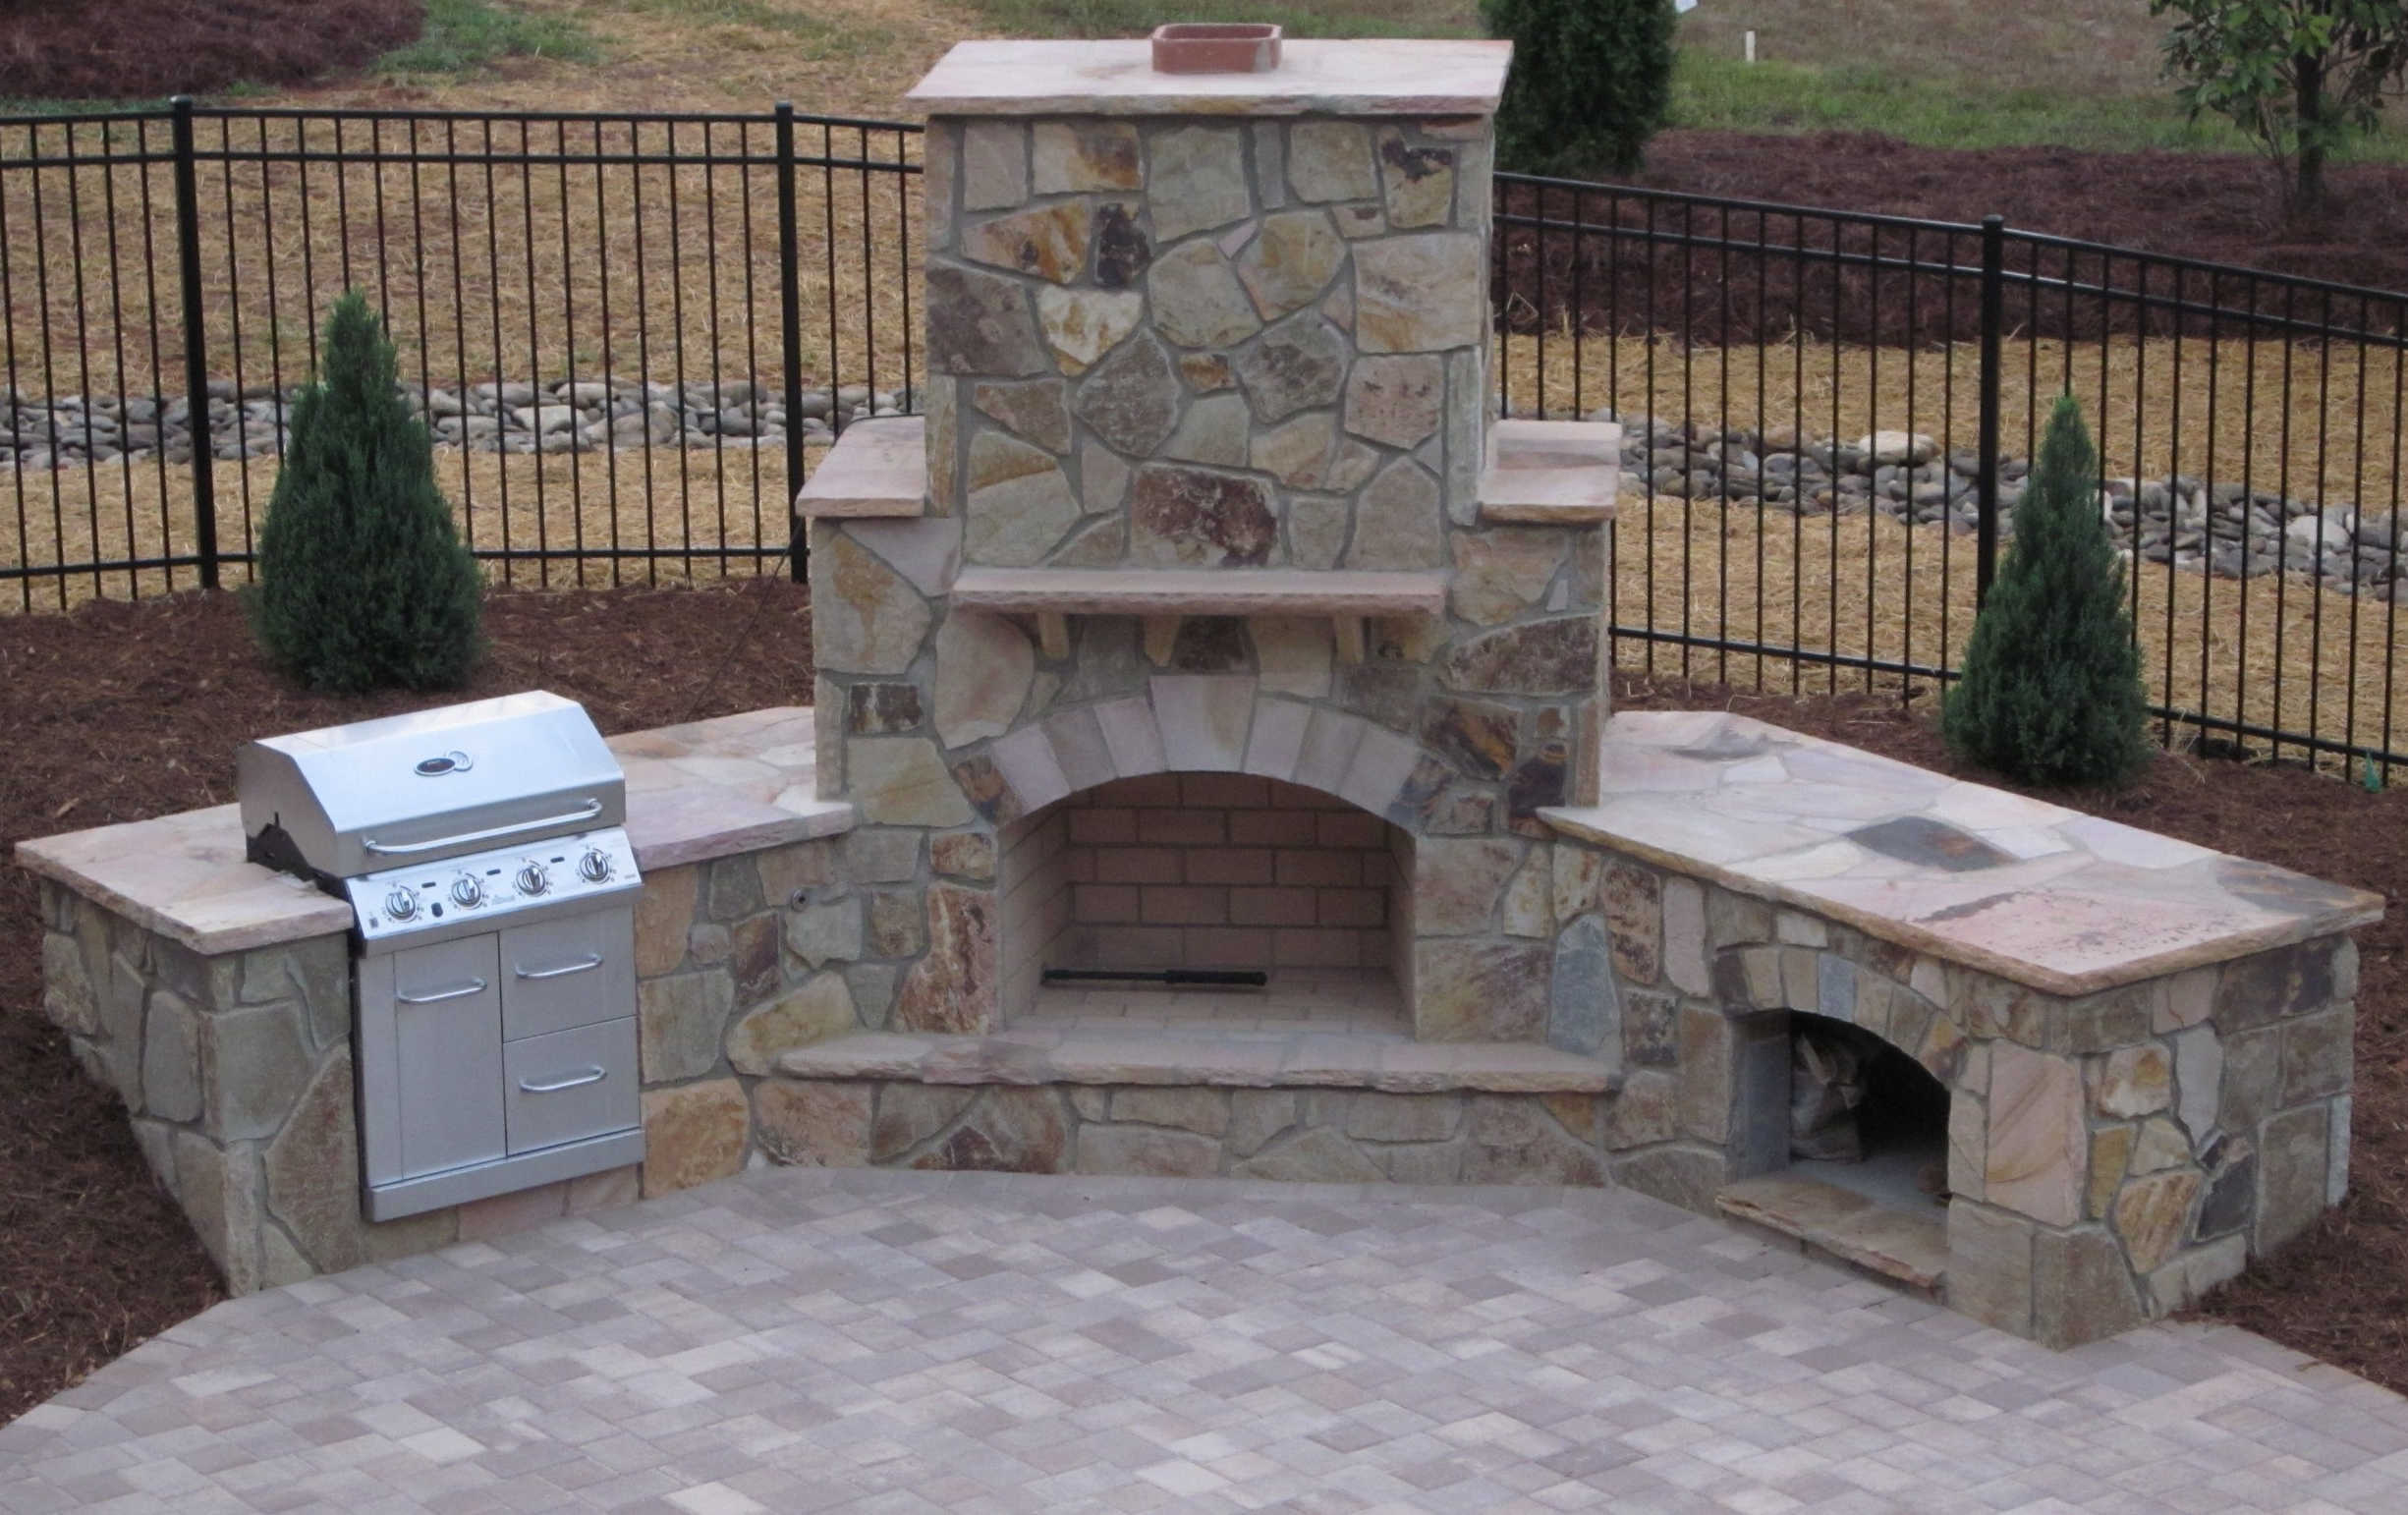
You may search for the plans of the outdoor fireplaces online and customize one of them according to the overall look of your house and garden, so that the fireplace becomes an inevitable part of the ensemble. You may also ask a contractor to develop a building plan for you. Whitewashed bricks will create a traditional look, while stone design, matching the stonework of the house, will provide even better facade.
Also, you’ll have to define the perfect height of the fireplace, taking into the consideration the landscape you’re planning to fit it in and the size of the house, so that the fireplace complements your garden or patio, but not overshadows its surroundings or gets lost in them.
Step 3. Receiving a permit
Most of the sates and municipal governments don’t allow building a wood-burning fireplace without receiving according permission beforehand. So, take your plan and apply for a building permit at your local municipal organ, which, by the way, has to conduct a preliminary inspection of the finished fireplace before you get to use it.
Step 4. Getting necessary tools and materials
Once you have a finished plan with the calculated amount of materials and list of necessary tools, it’s time to run to the store and buy them. The number of tools and materials depends on the plan you’ve chosen or designed, but normally you’ll need:
1. Ordinary and fire bricks
2. Wooden planks
3. Mortar mix and refractory mortar
4. Hollow blocks and flue blocks
5. Ceramic flue pipe (liner)
6. Bendable supporting board (for the arch)
7. Finishing stack stone or whitewash (depending on the design)
8. Fireplace grate
9. Spark arrestor
10. Cement
11. Level
12. Rubber mallet
13. Trowel
14. Shovel
15. Chop saw
16. Plate compactor
17. Screwdriver and drill
18. Pencil, measuring tape, gloves and protecting glasses
Step 5. Building a base
Measure the width and length of the fireplace on the chosen spot and start digging a footing for it. Check out the required depth of the base with your local authorities, as this number varies from 6 inches to 1 foot for different areas. Use a plate compactor to make the bottom of the base nice and even, prepare the concrete mix and start pouring the first layer. Some contractors recommend making several layers of concrete parted by rebar to make the base even sturdier. Some of them even lay hollow blocks at the base of fireplace. When you’re finished, let the concrete set for 24 hours or more.
Once the base has set, you have to prepare the mortar mixture, spread it all over the base and start laying the footing and surrounding area for the fireplace. 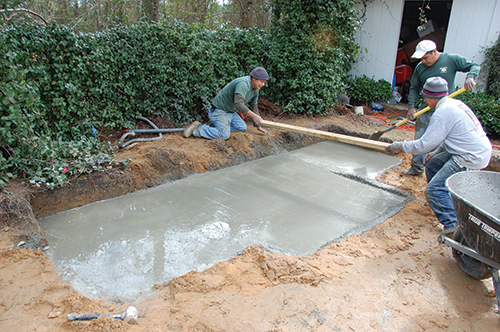
Step 6. Making a firebox
When the footing is done, you may start building the firebox out of the fire bricks and refractory mortar according to your building plan. Make sure that all surfaces of the firebox are leveled.
Step 7. Building the fireplace’s walls, arch and throat
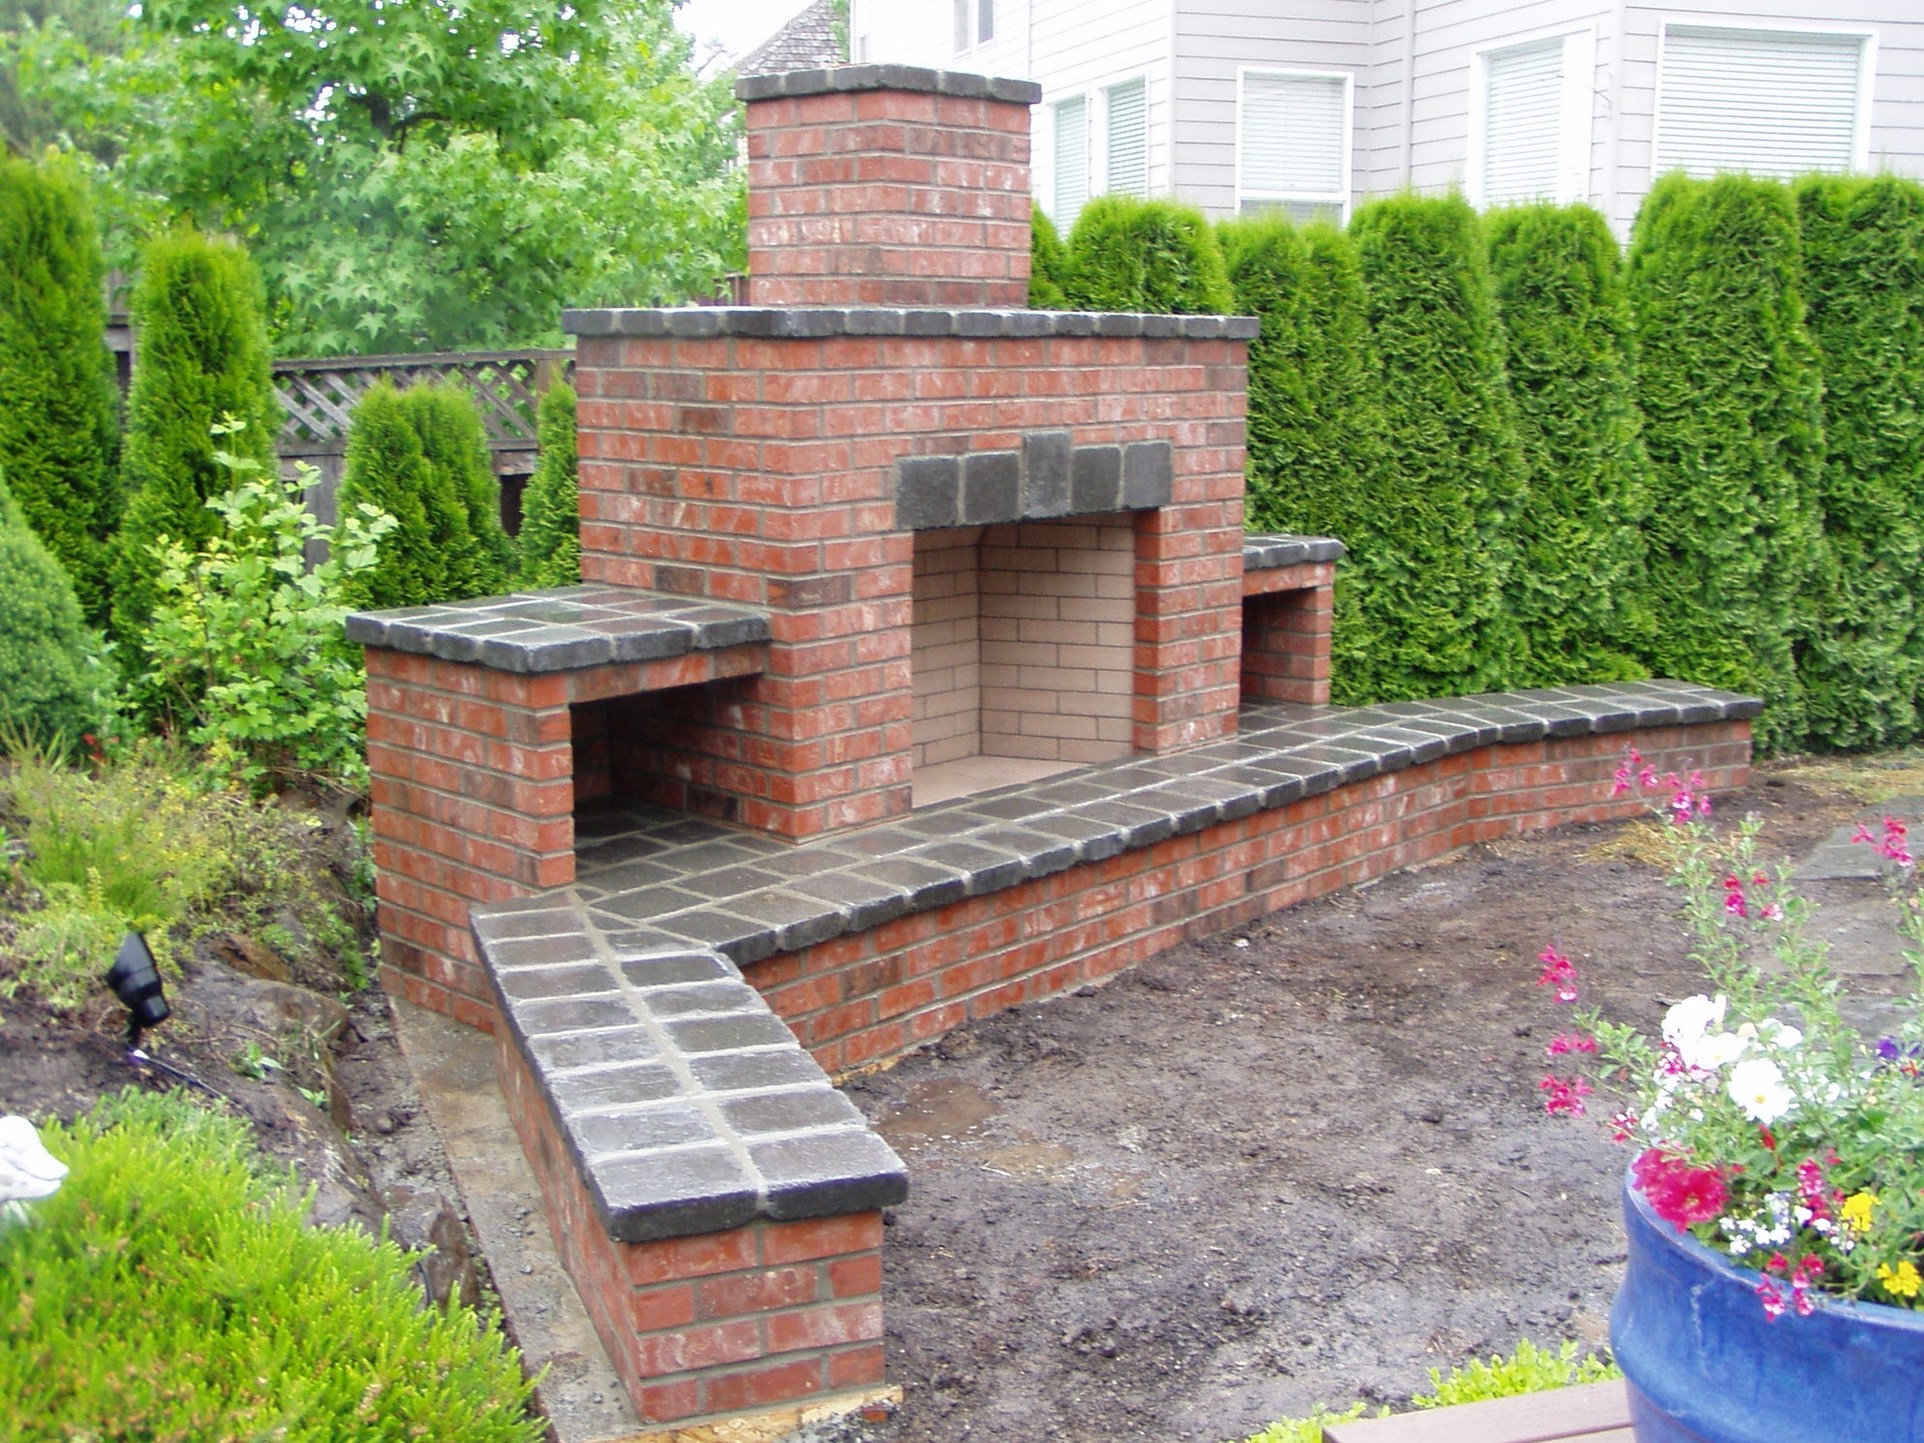
Proceed to recreating your outdoor fireplace building plan and construct its walls, stacking the bricks around the firebox and adding a layer of ordinary mortar mix between them. Apply the corbelling technique. Use a bendable board and wooden planks to create the frame of the fireplace’s arch. Incorporate it into the fireplace while installing the walls.
Then, start laying the bricks on top of the firebox, leaving an opening, equivalent to the size of the flue liners to create a ‘throat’ of the fireplace.
When everything is done, masonry contractors usually leave this carcass set for several days. 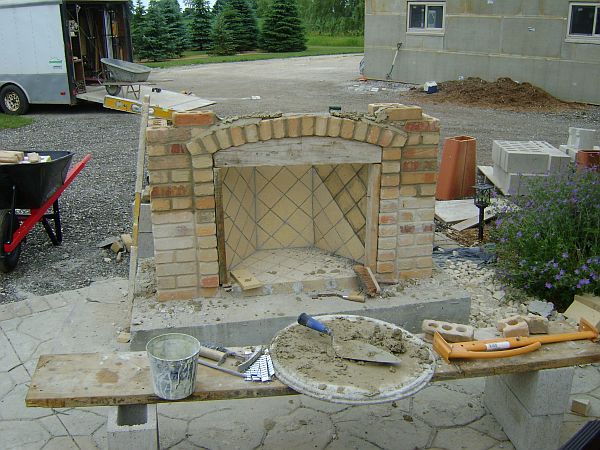
Step 8. Installing a chimney
Once the mortar is completely dry, it’s time to build a chimney. First of all, install one flue liner over the throat opening of the fireplace and secure in with mortar. Slide the flue blocks over the pipe until you reach its top. Attach another liner if you want a higher chimney and keep on laying the flue blocks.
Now you can continue building the chimney by laying bricks or hollow blocks around the pipe base according to your fireplace plan.
Find local masonry contractors
Step 10. Finishing a fireplace
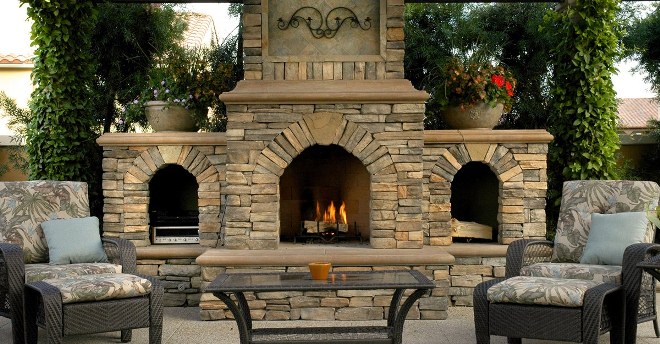
Allow the fireplace to consolidate for several days once again and proceed to the most exciting part, where you get to finish its outside by whitewashing the bricks, laying the stack stone over the bricks, attaching the mantel, fireplace grate, sparkle arrestor and decorating the arch.


Pingback: Jeremy Cosley
Go for it! Have your blog and share your thoughts. And thanks for your warm words.
Great web site. A lot of helpful info here.
I’m sending it to several buddies ans additionally sharing in delicious. And naturally, thanks on your effort!
I recently built a wood-burning brick outdoor fireplace using some of the tips outlined in this article, and I couldn’t be happier with the results. The step-by-step instructions were easy to follow, and the visuals really helped bring the project to life. Thanks to this resource, my backyard has become the go-to spot for cozy gatherings and marshmallow roasting sessions. Highly recommend giving it a read if you’re thinking about tackling a similar project!