Ideas for making stepping stones
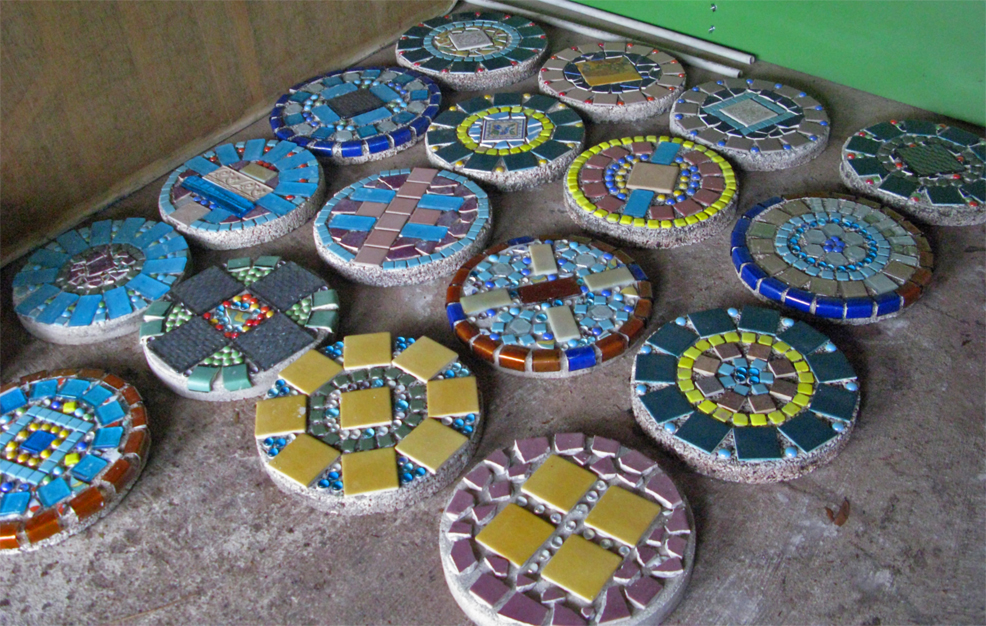
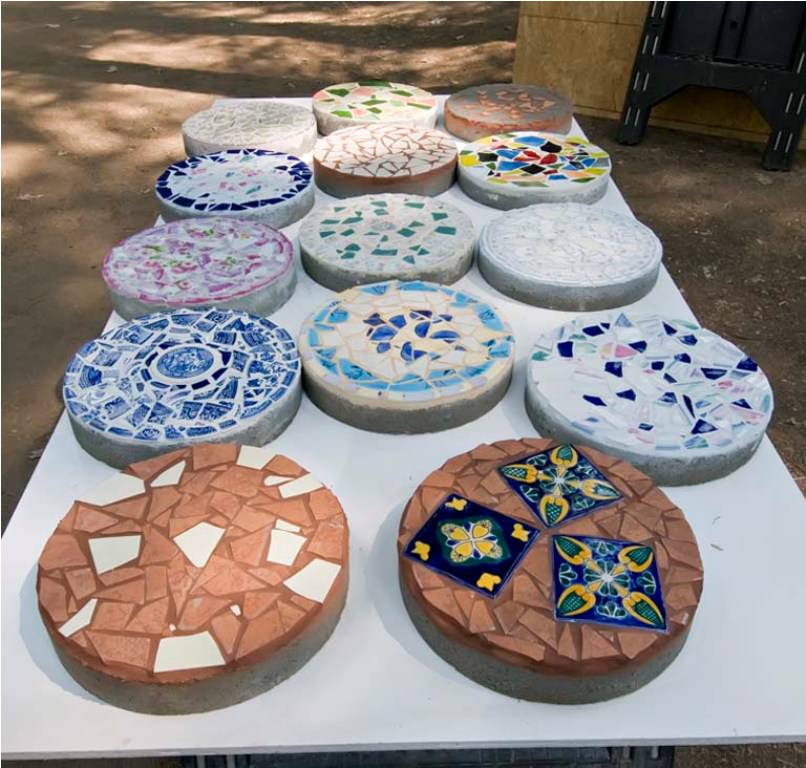
DIY stepping stones will serve as a great decorative and functional piece for your garden, as well as a brilliant craft option for you and your kids. They may be made of various materials like wood, pebble stones, colorful transparent stones, concrete, glass or plastic figures, natural elements (moss, leaves, little tree branches), different bits and pieces you may find throughout the house like cola bottle caps, dice, decorative apples, bugs, flowers and so on.
Their designs, shapes and patterns may be limited by creator’s imagination only. Those stepping stones aren’t only quite affordable, but they’re also unique and meaningful, as you may really go to town and come up with the design that embodies your personality and fits the garden’s spirit. Just imagine including various sea shells and beach stones you’ve collected while travelling throughout the world into several stepping stones to denote your trips and life journeys. Or, imagine yourself far in the future, sitting in your peaceful old garden and looking at the stones with footprints and handprints of your children when they were only a couple of years old. Isn’t it wonderful?
The stones you spared some time and effort to make will be much more attractive and valuable than fancy garden paving stones from the shop or smooth and perfect walkway made by professional masonry contractor. However, those DIY stepping stones range from quite simple and easy-to-make ones to real pieces of art, made by a creative masonry contractor or artist, who made a special mold and recreated several unique complicated mosaic designs for each of the stepping stones.
 In addition to that, you may find DIY garden stepping stone kits, which already have all necessary tools and materials, required to make one stepping stone. You may carry out quite interesting craft activity with your kids and try out how to create a stepping stone without having to find forms, gather stones and purchase too much concrete solution.Either way, concrete or wooden DIY stepping stones may be used to create a vintage decorative walkway on their own. Another great option is to include them into the concrete, stone or paved walkway laid by a professional contractor. This way you’ll get a convenient and functional, but also customized pathway in your garden. So, if you’d like to implement a similar look into your backyard, I suggest that you gather as a family to make a few DIY decorative stepping stones and hire a professional masonry contractor to build a walkway in your garden with the use of stones you’ve pre-made. So, let’s figure out how to make stepping stones of various designs and shapes first, and then visit HireRush.com to find a local masonry contractor and ask him to place your cheeky handmade stones instead of several commercial paver stones on the garden walkway or patio.
How to make a stepping stone out of concrete
Designs and molds for making decorative stepping stones
First, you have to decide on the design, size and shape of your future stepping stones. Obviously, you may completely different ones when it comes to their shapes and sizes. Just make sure to recreate similar designs and find different ‘molds’.
You may literally use anything as a mold for your DIY garden stepping stones. It may be a round cake pan, or old square baking tray with high edges, or even cardboard boxes with stiff walls. Moreover, you may pour the mixture into plastic food containers or large plastic trays. Just walk around the house and find something you won’t mind using for this project. The most important thing is that your mold shouldn’t have any holes, so that the concrete mixture doesn’t leak through them.
Then, depending on design you’ve chosen, you have to collect decorative elements. But, you may skip this step if you’re willing to make plain concrete steps or if you’ve found a mold with convex design at its bottom.
You may purchase such molds online or make them on your own by attaching a patterned plastic ceiling tile to the bottom of the plastic tray of according size. Those trays may also come in different shapes (star, butterfly, flower), which significantly increases the scope for your imagination. Another option is to draw something on your stepping stone or press a large leaf to it while the concrete is not completely dry yet.
If you’re looking for fun and entertaining ideas for your children, consider using cake pans in shapes of kid’s favorite cartoon characters. Kids will flip out when a concrete Mickey Mouse or one of his friends pops out of the pan. They’ll also enjoy painting and decorating such DIY stepping stone, which will be perfect for their garden play area.
Now, as we’ve considered our garden stepping stones’ design and mold options, let’s proceed to the part, where we actually get to make one of them.
Steps to make decorative stepping stones
- Purchase concrete and concrete coloring if you need it. Quick-setting solutions work the best for these kinds of projects. Don’t buy too much if you’re going to make just a couple of stepping stones. A 50-pound bag of concrete will make 7-10 stepping stones depending on their sizes.
You may find a bag of stepping stone mixture, which makes only one stone and costs just as much as 50-pound bag of ordinary concrete. So, the previous option is much cheaper. - Protect your working area and your hands. It’s better to work outside or somewhere, where you won’t mess up too many things that aren’t too easy to clean. Cover your working surface with plastic table cloth. Put your rubber gloves on.
- Gather tools and materials. You’ll need an old bucket and spoon to prepare the concrete mixture, clean and dry stepping stone molds, decorative elements (like ordinary or transparent stones, glass beads, wooden decorations, pieces of vintage board games, mosaic tiles, etc.), cooking spray and some water.
- Prepare the molds. They should be completely clean and dry. You should also treat them with non-stick cooking spray, so that the stepping stones fall out of the molds easily once they’re dry.

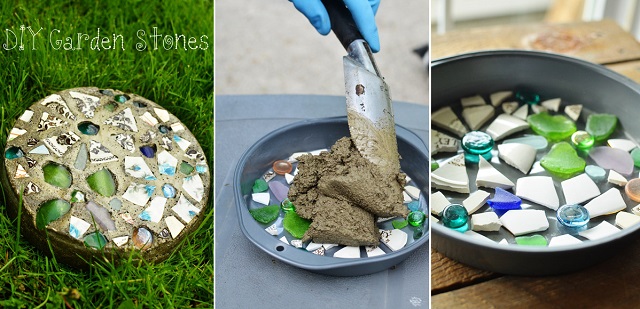
- Prepare the concrete solution. Mix concrete with water according to the manufacturer’s instructions. If you have complicated designs or just a couple of molds, don’t use all concrete at once. It’s better when the mixture is not too runny. You should be able to spoon rather than pour it into the mold.
- Transfer your concrete solution into the molds. If they’re stiff enough, shake them a little bit to get rid of air bubbles in the concrete.
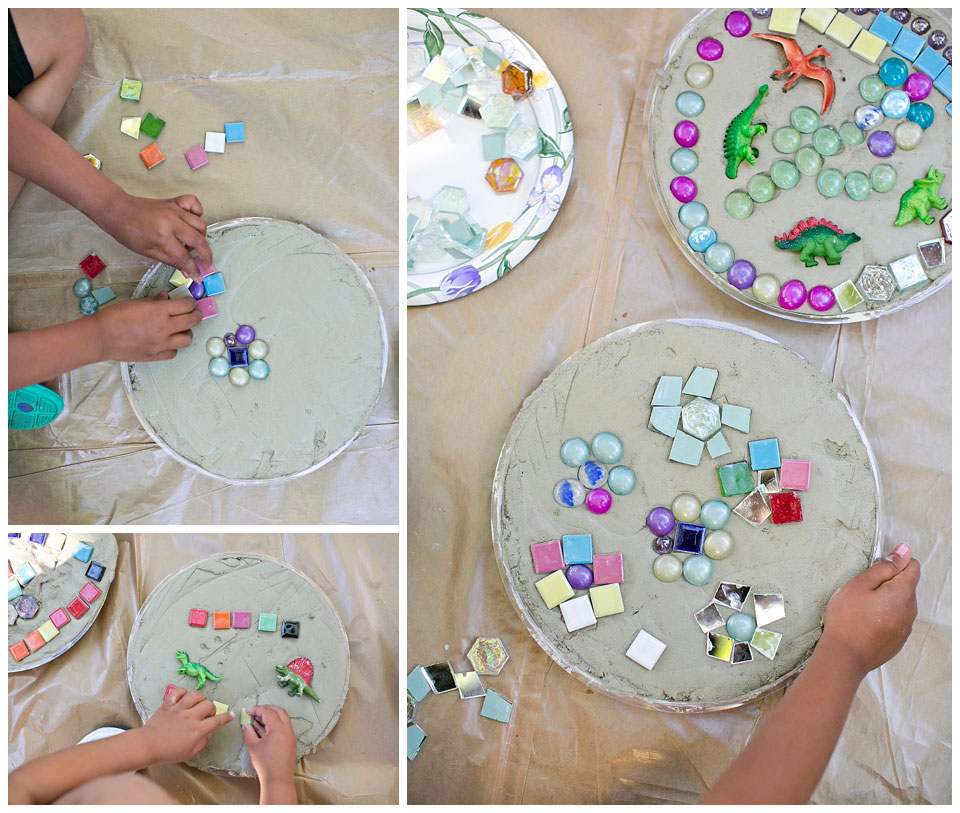
- Decorate your stepping stones. Compile one of the numerous mosaic designs out of smooth river stones, sea shells, pieces of old shattered plates, glass beads, etc. Create decorative footprints out of stones or beads. Be creative and make up an interesting composition out of your decorative elements. Make the footprints and handprints of your kids. Don’t forget to write their names and ages on the stone as well. If you mess up or just want to change your design a little bit, you may easily remove decorations and smooth out the concrete’s surface while it’s still wet.
Hire a local masonry contractor
Once you’ve finished decorating, leave your stepping stones to dry overnight and remove it from the mold the next morning. Let them set for another 4-6 days. After that, you may totally install them as a walkway or ask your masonry contractor to use these DIY stones as decorative elements for your patio.


