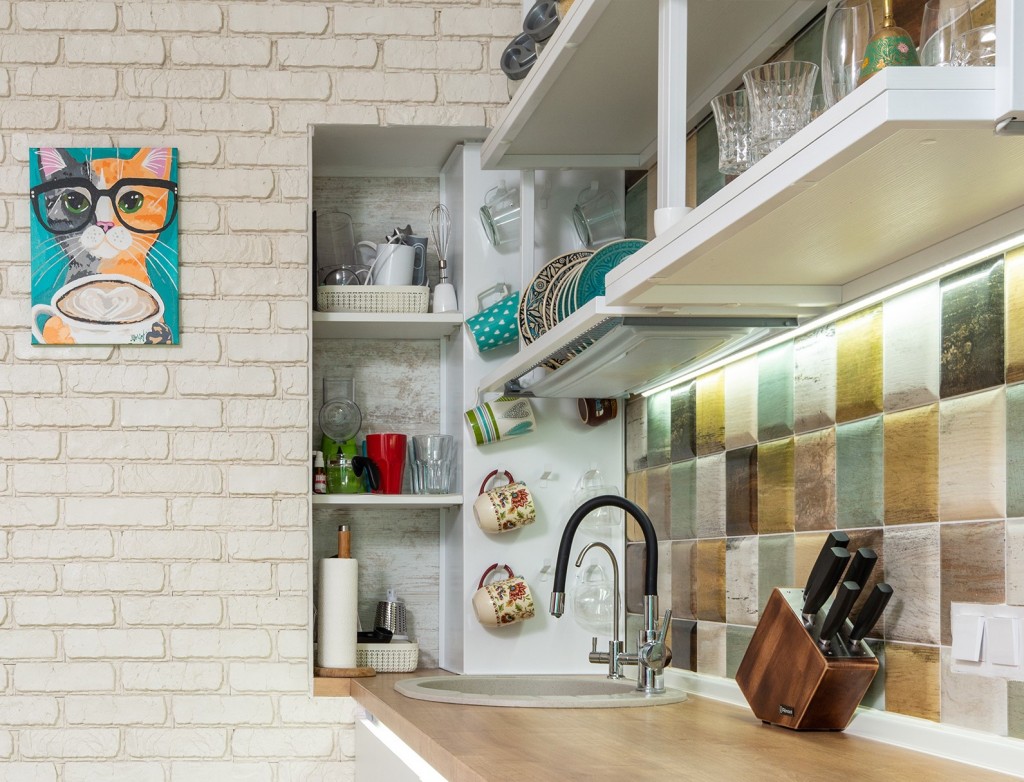
When your bathroom or kitchen tile gets to the point where it’s too gross and hopelessly dirty, the only thing you can do to save the look of your tile and prevent the individual tiles from falling off the wall is to regrout it.
As mildew and grout stains aren’t actually that impossible to remove (even though the cleaning process is a pain in the backside), regrouting shouldn’t be your go-to solution to these problems. A little bit of natural cleaner, diluted bleach and a ton of good old scrub will bring your disgusting moldy grout back to normal.
However, deteriorating and crumbling grout is the issue the homeowners have to address as soon as they can. Otherwise, they might face the situation when the water seeps through the damaged grout or the grout-free areas between the tiles, gets to the adhesive that holds the tiles in place, and, sooner or later, makes the tiles separate from the walls and fall off.
That’s why if you’re completely satisfied with the look of your tile and don’t plan to remodel your shower/kitchen anytime soon, you should better regrout the area and make the tiling job last for another decade or so. The cost of tools and supplies is minimal.
Tile regrouting process isn’t as complicated as it might seem, even though it requires a lot of time and precision. One has to be really careful while getting rid of the old grout not to scratch the tile or make it crack. In addition to that, one has to pick the right solution and ensure proper grout and grout sealant application in order to make the grout last for a long time, as well as to protect tiles from the damage excessive moisture, mold growth and time might cause.
Aren’t sure if you’re able to do that by yourself? Then, it’s better to go to HireRush.com and post a regrouting task for our tiling contractors to get the job done by a real pro and avoid time and money waste.
Do you feel confident and ready to conquer the regrout? Let’s get down to business then!
Steps to regrout tile
- The first thing you can do to make the process a lot easier and a lot less stressful is purchasing/renting an electric grout removing tool. If you’re a professional tile contractor, this is the must-have for you. It will reduce the time and physical effort you’ll spend on scraping out the old grout. Besides, if you purchase the one that has side protectors, it will be practically impossible for you to scratch or crack the tile.
- Once you have your tools, put you face mask, protective glasses and start grinding old grout. For that matter, run the electric tool trough the space between the tiles moving it from up to down. If you can, keep the doors of the room you’re working in closed to prevent fine dust from entering the rest of the house. If you’re regrouting your bathroom, make sure to protect the bathtub with plastic cloth not to let grout pieces scratch its surface.
- Get rid of the excess grout the remover didn’t manage to get using the grout saw. Be careful with the saw and move it inside the grout joints slowly, as it might slip on the grout bump and scratch the tile.
- Clean out the joists using a scrub brush and coat porous tiles with the pre-grouting sealer. It will protect the tiles and keep the unnecessary moisture from getting to their back side.
- Mix the grout according to the directions on its packaging and proceed to applying it to the tile joints.
- The best way to regrout tile is to use a rubber grout float and hold it at a 45-degree angle to the wall to push the grout into the joints and fill them in.
- Go over the same area a couple of times to eliminate air bubbles or missing spots.
- Regrout one section at a time and make sure to wipe off the excess grout that got onto the tiles while it’s still wet. Do that with the help of a clean grout float, holding it at quite a sharp angle against the wall/floor. Move the float diagonally across the tile not to ruin the joints you’ve just filled in.
- Let the grout set for 10-15 minutes and clean the surface using a slightly damp sponge.
- Once that’s done, leave the grout to dry for at least 24 hours (48 is even better). After that, you may caulk the gaps between the tiles and bathtub/sink and complete the project by applying some finishing sealant onto the joints.

Now, you may thank yourself for the wonderful regrouting job you’ve done, the patience you showed while doing it and the courage you had to even attempt regrouting. You have a lot to be proud of!


