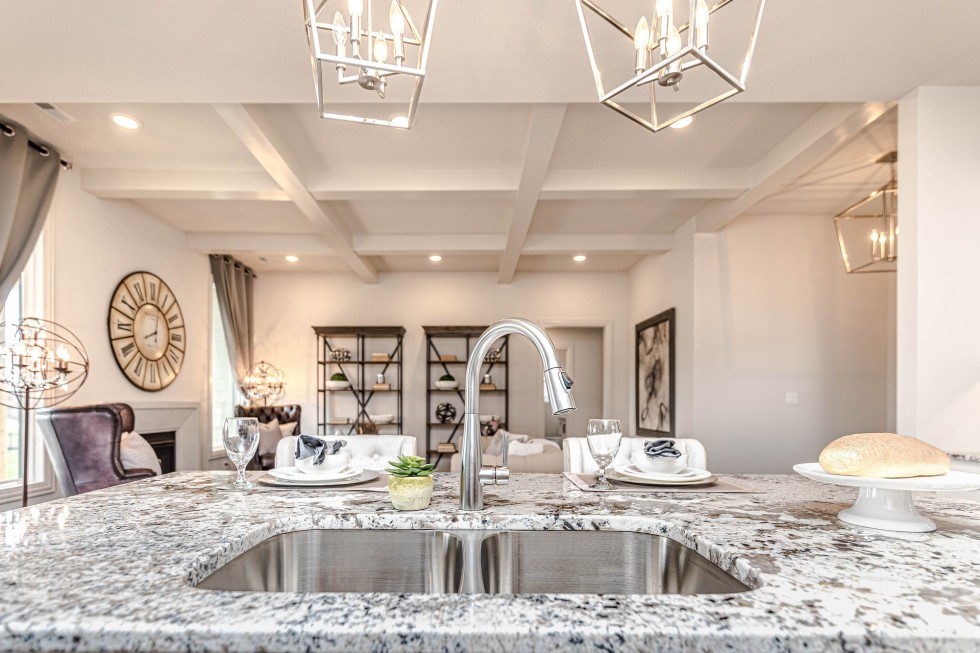
Moving to a new house always means rebuilding or revitalizing your new shelter. Such updating measures include for example installation of a new kitchen countertop.
Still, it’s not necessary that you have to install it from scratch. Why not consider replacing the old countertop with a new one to renovate your kitchen.
How to understand that the time has come to replace? Look at your old worn, scratched counter with faded colors. Is it really so? Are you comfortable with it?
Does your counter used for years or even decades match the general design of your kitchen and particularly your new furniture?
If no, you may first think of repair or renewal for old damaged surface without having a new countertop installed. But the best option would be a replacement.
Removing your old kitchen countertop may seem to be a naibitter, especially in old houses, where plastic laminate countertops were fixed to walls with nails.
Yet, don’t think that you won’t manage to do it without any assistance. Setting a new counter can easily be accomplished within the weekends.
At that, you may yet need some tools like a jigsaw, a drill and some others. At the same time you can choose the alternative way and contact a suitable pro.Leave a request here
If you though decided to make changes and get no help, get acquainted with our instructions. Use our tips to save money and replace your kitchen countertop yourself.
7 steps to replacing a kitchen countertop
- Make measurements
First step is naturally to thoroughly measure your old countertop. As a result, you should have a sketch containing a width and depth of the cabinet.For making more precise measures, use the dimensions given by the manufacturer. After making all necessary measurements, define how much material you need.
Find out the total area. According to this sketch you will be able to find a suitable countertop within your means the shop. - Detach the sink drain
To remove the old countertop you have to shut off the water supply from main. Then, lift you sink drain.
But always make sure that the joints are disconnected. And only after that, unhook the sink drain. - Remove the old countertop
To do it you may most probably need someone to help. Moreover take a drill. Go underneath and unscrew all screws from there.Try to lift it. If all is done correctly, the counter will freely move. If no, finish unscrewing and drag countertop out.
- Prepare for installation
To install the new countertop it is necessary to make some preparations. First, screw the buildup strips down to the cabinet.Then, drill some holes and screw through them later to make sure the tops are stable.
- Scribe the countertop
The walls may have inequalities, so you need to correct that. Make the countertop to match perfectly.
The best idea Hirerush.com can offer you is to scribe it. With a help of a jigsaw, cut the block of the counter that matches the gap between it and the wall.
Use pencil to match the line on the surface that will indicate you where to cut. Check one more time to ensure it fits well.As you see, it’s better to be cautious and buy some extra material, as it won’t be a problem to fix the countertop to the wall.
This phase can take some time and effort, but actually you are forming a necessary shape of the counter. That’s why cope with boredom and fatigue and finish this important part. - Set the countertop
You will need a wood glue to be applied on the entire area of joining edges. You may have to make some screws to secure the countertops.
Push the countertop together .When fastening screws, push harder. Finally, glue the miter. - Attach solid surface
Congratulations, you have almost finished. In fact, all main steps are left behind.
But don’t forget to join a new solid surface to complement the outlook of your revitalized kitchen.
Use the sealant and screws to secure the countertop in place. Again, ask your friend to push the counter and attach the tops to the cabinets.
Additionally, you can use laminate strips, sand, oil or seal to finish the edges of the countertop. Everything depends on the type of the surface.
These were the main steps to replacing your old outdated countertop. They may seem complicated but hope you’ll manage to do it.
In the meantime, you can get professional assistance contacting your local specialists.


I appreciate what you included about correcting inequalities when installing a counter-top by using a scribe. Using a scribe eliminates the human error that comes by trying to eyeball something. I won’t be eyeballing it the next time I replace a counter-top or install cabinets. Thanks for the great tips!
You’re so welcome! Hope your countertops turn out great.
Thank you so much for all the advice regarding counter top installation! My wife and I were thinking about doing some renovations ourselves; however, we were not sure where to start! I love the step by step help and how you went through the trouble to make your comments very clear and precise. Thanks again! I was not sure how difficult it was going to be, but thanks to you, I might be able to do it!
This guide is spot on! We recently decided to update our kitchen, and replacing the countertop was the big project. These steps made the process feel much more manageable, even for someone like me who isn’t very handy. I especially appreciated the clear explanations and the emphasis on measuring correctly, saved us from a lot of potential headaches. If you’re thinking about a DIY countertop replacement, this article is a must-read!