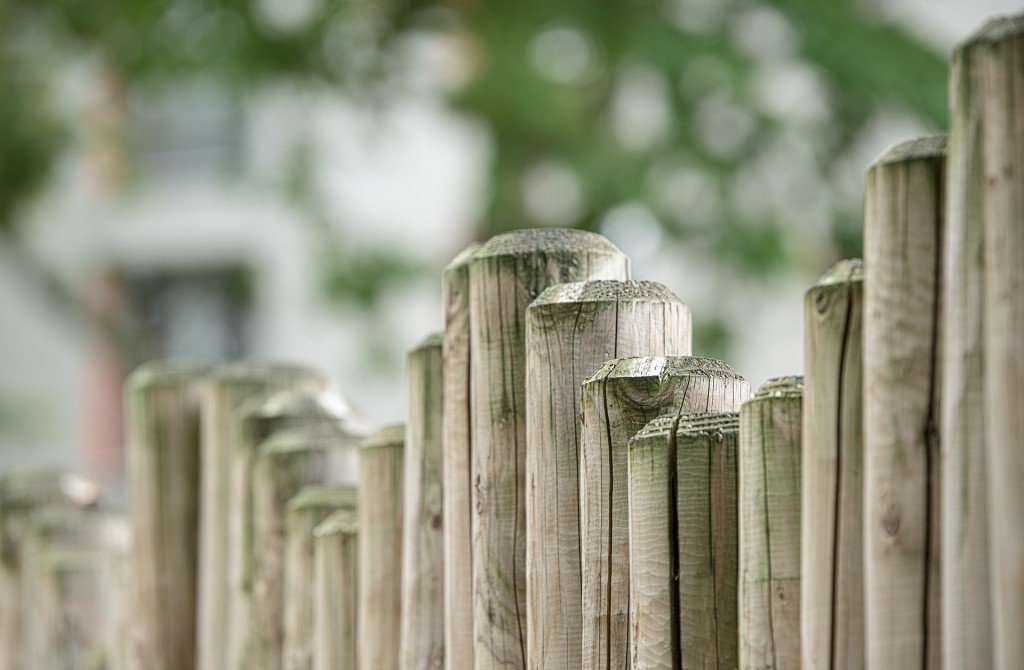
Reasons behind a leaning fence
Fences, especially wooden ones, may lean after a few years of exploitation. That happens due to a combination of different factors, and most of them you can’t prevent. However, as fences are important landscaping features that also serve for multiple practical senses, a leaning fence is the problem that needs to be eliminated right after its appearance. The remedy largely depends on the situation, that’s why before explaining the ways to fix a leaning fence, it’s necessary to determine the roots of the issue.
The most common reasons why wooden fences refuse to stay upright after a while is that the posts they were installed on either broke or started rotting. The wood inevitably deteriorates ove rtime, partially because they’re constantly exposed to various weather conditions and the contact with soil. The wrapping process, that causes cracks and weak points, explains why older fences eventually lean. But, improper installation and wood choice may speed up the process and lead to an early decay.
Shallow posts are another culprit behind a leaning fence. The depth of the postholes needs to correspond with the height of the future fence. Consequently, when the holes for the posts aren’t deep enough, the posts are not able to sustain the weight of the actual fence, and it will lean quite shortly. Weak posts make the fence not only lean-prone but also less resistant to the outdoor influence, such as strong winds, dogs and kids trying to climb it, etc.
Unfortunately, this structural mistake isn’t that easy to eliminate. If you can’t notice any other visible signs indicating the reason for a leaning fence and you suspect the shallow post issue, you may have to hire a fence contractor once again and reinstall the entire fence. That’s why it’s rather important to choose a reliable fence contractor for initial installation (you can do that on HireRush.com) or be quite cautious when building it on your own.
Obviously, extreme weather conditions may lead to a leaning fence as well. When heavy precipitations make the soil quite wet and decrease the strength of the posts, the fence becomes less resilient to strong winds and may lean over its entire length.
Now, as we discovered why you may encounter a leaning fence issue, let’s look into the ways you may fix it.
How to fix a leaning fence
Things you will need:
- Concrete mix for fence posts
- Metal supports (one for each problem post) or wooden braces
- Deck screws
- Strong rope
- Power drill
- Shovel
- Hammer
- Long level
- Sabre saw
- Wheelbarrow
- Concrete mixing mutt
- Protective gloves and glasses
- New posts
- Bricks

Steps to repair a leaning fence
As the posts are the main culprits of the issue, this guide will help you either repair or replace the posts.
- The first thing you will have to do is to inspect the leaning area and define the posts you have to work on. Determine the damage levels to decide if you have to repair or replace. Examine the concrete base of the posts as well.
- Before digging the defective ones out, you need to make sure that your actions don’t cause a further breakdown. For that matter, you need to install metal supports, so that they take up the weight of the fence and prevent it from falling while you deal with the posts. If you don’t have those special metal supports, you may use old 4×3 pieces to create your own braces and attach them to the fence below the horizontal rails.
- Once that’s done and your fence is standing sturdily, you may dig into the ground around the concrete base of the post to be able to pull it out.
- Disconnect vertical rails from the defective post by removing the nails with your Sabre saw. If there’re any deck screws in the way, make sure to get rid of them as well.
- Then, you will have to do some heavy digging to pull out the post together with its concrete base. Crushing the concrete footing often helps a lot.
- Now, it’s time for the most crucial and nerve-racking part of the assignment – installing a new post correctly. For that matter, you need to clear out the existing hole or dig a little bit deeper if you think that the current depth doesn’t correspond the height of a leaning fence. Flatten the sides and the bottom of the post hole.
- To make things easier, put a brick at the bottom of the hole and position the post on it. Use a piece of wood or a long string to make sure that the new post aligns with the other ones. Check if it’s level.
- Work on the rest of the fence and make it stand straight. You will have to loosen up the screws on braces to be able to perform necessary readjustments. Once you make sure that everything is leveled up, screw the rails to the posts and attach the fence with the supporting braces in the desired position. This will keep your structure from declining from the proper position while the concrete footing of the posts is drying up.
- When that’s done, prepare the fence concrete according to the instructions on the package and fill the post hole with it. Repeat the steps above to replace other damaged posts.
- Let the concrete set in for a day or two before attaching the rest of the fence to the posts, trimming them down to the desired length and removing metal supports/braces.
Unsure if you can pull this repair off without any professional assistance? Don’t spare a moment to leave a leaning fence fix-up request for our fence contractors and get everything sorted without any fuss.


